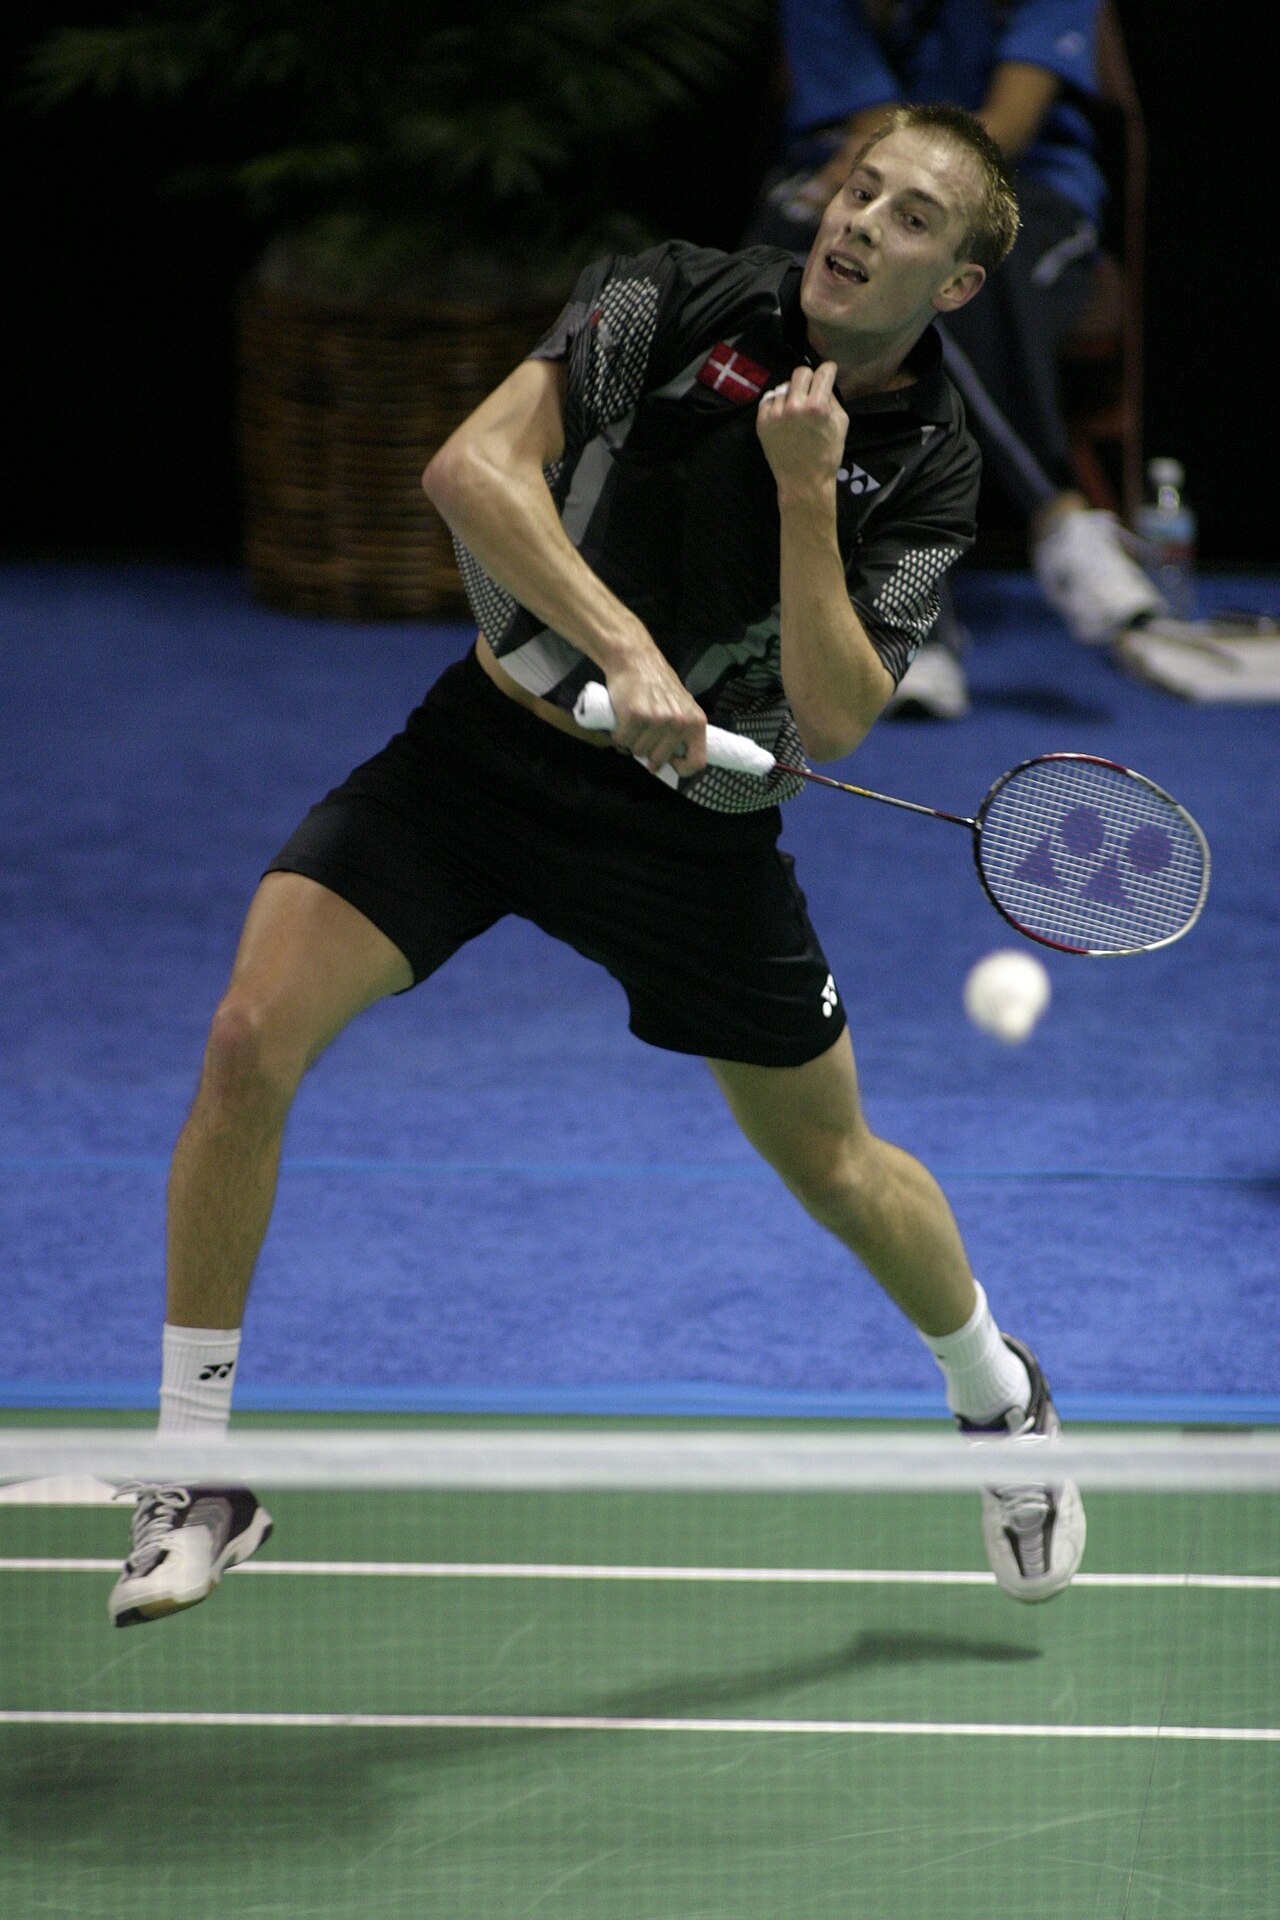
The front court is where rallies are actually decided
Badminton is famous for the smash, but watch a good club match for ten minutes and you will see something less dramatic doing most of the work: a shuttle dribbling over the tape, dropping a hand's width from the net, and forcing the opponent to scoop it back up. That exchange, the battle for the front court, decides who gets to smash and who has to defend.
Our singles strategy guide and doubles strategy guide both explain why net play matters: in singles it drags a lone opponent forward and opens the back court, and in doubles it is where rallies compress and are won. Neither explains how to hit the shots. That is this guide: the four front-court shots, the footwork that gets you there, and the rules that quietly turn a good kill into a fault.
One framing point first. Every net shot is a decision about the shuttle's height when you meet it. The higher above the tape you contact it, the more options you have, and the less time your opponent has. Almost every technique tip below is a way of meeting the shuttle earlier and higher.
The net, and why the numbers matter
Badminton's net is lower than most people expect and it is not flat. Under the BWF Laws of Badminton the top of the net is 1.524 m (5 ft) at the centre of the court and 1.55 m at the doubles sidelines. That sag in the middle is small, but it is why the shuttle has so little room to spare on a tight net shot: you are trying to clear a tape that is barely above the height of a standing adult's chest, and land within a few inches of it.
Footwork: one lunge, then straight back
Net shots are mostly a footwork problem. Coaching sources describe the same pattern: step forward with your racket-side foot to reach the shuttle early, let your weight settle onto that front foot, play the shot, then push back off the front foot to return towards the middle of the court (see TeachPE's net shot guide in the sources).
Practical points that follow from it:
- Lead with the racket foot. The lunge puts you in a stable position with the racket arm extended and your head steady. If the wrong foot is forward you lose reach and balance in the same step.
- Keep the racket up while you travel. Racket head low means a slower, later swing. A raised racket lets you meet the shuttle high and use a small motion.
- Plan the exit before you arrive. The lunge is the start of the recovery, not the end of the shot. Players who land and then think about getting back are a full step behind the next shuttle. The split-step and recovery mechanics are covered in our racquet sport footwork guide, which applies here.
Grip at the net
Your grip should already be set before the shuttle arrives. As covered in our badminton grip technique guide, most front-court shots are played with the forehand grip on the forehand side and the thumb grip on the backhand side, with the hand loose enough to let the fingers do fine work.
TeachPE's description of the two sides is a useful mental image: on the forehand net shot the palm faces up at contact; on the backhand, with the thumb grip, the palm faces down towards the floor. The control comes from the thumb, index and middle finger, with very little arm movement. A tight grip is the commonest reason net shots come out heavy.
Shot 1: the basic net shot (the "brush" or "lift-over")
The aim is simple and brutally hard to execute: the shuttle should just clear the tape, peak right at the net and drop steeply on the other side. The closer it lands to the net, the less an opponent can do with it.
How to play it:
- Reach the shuttle as early as you can, before it drops low.
- Cock the wrist and let the racket head drop slightly, then bring it up to meet the shuttle as close to the top of the tape as possible.
- Give it almost no pace. TeachPE describes the ideal as the shuttle bouncing off the strings "with no pace on it", so it simply falls over.
- Use the shoulder and fingers for the lifting motion, not a swing.
The result you want is a shuttle that turns over at the top of its flight and falls nearly vertically. If it crosses the net with height and pace, your opponent gets a free kill.
Straight or cross? A straight net shot (down the same side) is the shortest route and the safest. A cross-court net shot has to travel further, so it needs to be played slightly earlier and higher to stay tight. Most club players should own the straight one before adding the cross-court variety.
Shot 2: the spinning (tumbling) net shot
The tumble is the net shot with a twist, and it is the shot that most separates experienced players from the rest. The shuttle rotates end over end as it crosses the tape, so the cork base is hard to hit cleanly and the natural response is a weak lift.
How spin is produced. Badminton House's guide describes the mechanism: the racket face stays slightly open and the racket brushes across or under the base of the shuttle, sideways or pulling backward, instead of pushing through it. Control comes from the thumb, index and middle finger with little arm movement, and contact is ideally taken just below the tape.
A few consistent points from the coaching material:
- It is a brush, not a swing. A large swing adds pace and ruins the tight placement.
- Over-slicing produces height, not tumble. If the shuttle pops up instead of rolling over, your brush is too steep underneath it.
- Take it early and close to the net. Spin loses effectiveness from deep in the court, where you are better off with a simple lift to the back or a clear.
- A tense grip kills it. Finger control is the whole shot.
Shuttle speed and type also affect how a net shot behaves, and indoor conditions change how the shuttle flies, so a touch that works in one hall may need adjusting in another. Our shuttlecock guide covers the feather-versus-nylon differences.
Shot 3: the net kill
When the opponent's net shot is loose, floats above the tape or pops up, the job flips from placing the shuttle to ending the rally. The net kill is a short, fast, steep downward push.
The four points that matter, from coaching sources:
- Take it above the net. The earlier and higher you meet the shuttle, the steeper the angle you can create. The kill is only available while the shuttle is above the tape.
- Get the stance right. Feet slightly wider than shoulder width, racket-side leg forward, weight moving forward and the non-racket arm out for balance.
- Power from the fingers. A sharp snap of the fingers and a small wrist action drives the shuttle down. Arm-swinging slows the shot and lets the opponent read it.
- Short follow-through. A compact finish keeps the shot controlled and gets the racket back up for the reply.
Don't stand too close. Players crowd the net because it feels aggressive, but a kill needs room to create a downward angle. Stand too close and you either hit the tape or reach so late that you cannot angle the shuttle down.
The two rules that decide net exchanges
Net play is where most accidental faults happen. Both come straight from Law 13.4 of the BWF Laws of Badminton, which covers faults "in play":
- Touching the net. It is a fault if a player "touches the net or its supports with racket, person or dress" (13.4.1). This includes your shirt and your racket frame, not just your hand. A kill that clips the top of the tape with the racket edge is a fault even if the shuttle goes in.
- Reaching over. It is a fault if a player "invades an opponent's court over the net with racket or person", except that the striker may follow the shuttle over the net with the racket in the course of a stroke after the initial point of contact with the shuttle is on the striker's side of the net (13.4.2). In plain terms: contact must happen on your side; your racket can continue across afterwards. You cannot reach across and hit a shuttle that has not yet crossed.
The second rule is the one that catches intermediates. A player who lunges forward and pushes a net kill while the shuttle is still on the opponent's side of the tape has committed a fault. Stay behind the plane of the net until you have made contact.
Shot 4: the net lift (and how to avoid hitting it)
The lift is the defensive answer to a good net shot: the shuttle is tight and low, you cannot play it flat, so you scoop it high and, ideally, deep to the back of the court. It is not glamorous. It is a recovery shot, the shuttle is going up, and as the doubles guide explains, in doubles a lift usually triggers the side-by-side defensive formation because you can no longer control what comes back.
How to play it well:
- Go deep, not just high. A short, high lift is a gift to the opponent. Aim for the back of the court so they have to retreat to hit down.
- Use it as a reset. If you are in trouble, lifting deep buys the time to recover your base position.
Common mistakes
- Waiting for the shuttle. Standing flat-footed and letting it drop to your knees. Every inch lower is an inch less attacking option.
- Swinging at net shots. Net shots are touch shots, not strokes.
- Hitting the shuttle with the tight grip of a smash. Relax the hand until contact.
- Forgetting the recovery. The lunge must have a return step built in.
- Trying the tumble from deep court. The spin does not carry that far and the shuttle usually lands mid-court.
- Faulting on the kill. Reaching across before contact, or clipping the tape with the frame.
A simple practice progression
- Shadow the lunge and recovery with no shuttle, then with a racket, until the forehand-foot-forward lunge and the push back feel automatic.
- Feed-and-tap. Have a partner feed shuttles to the net and focus on meeting them high with almost no pace.
- Add a target. Place a towel or mark a zone on the floor a hand's width from the net and count how many of ten land in it.
- Introduce the brush once the basic net shot is consistent, starting with slow feeds.
- Add the kill. Have a partner occasionally feed a loose, high net reply; your job is to decide in time, kill it or place it.
Where to go next
Net play is one piece of a larger game plan. Our badminton singles strategy and doubles strategy guides show how the front court connects to the rest of a rally. How to serve in badminton covers the low serve, which sets up your first net exchange, and our scoring and rules guide covers the wider rulebook, including the faults above. If your net shots feel stiff, go back to the grip guide first.
Sources
Written and fact-checked against the BWF Laws of Badminton and established badminton coaching resources, cross-checked against each other:
- BWF — Laws of Badminton (Statutes Section 4.1, PDF) — net height (Law 1.10) and faults (Law 13.4)
- TeachPE — Badminton Net Shots — lunge footwork, grips, lifting motion
- Badminton House — Badminton Spinning Net Shot Guide — brush mechanics and common spin mistakes
- Badminton Justin — How to Master Net Kills in Badminton: 6 Key Tips — net kill stance, finger power, distance from the net
Want to put it into practice? The Court Scout maintains a verified directory of badminton courts across the US — every venue confirmed against a primary source, with real Google ratings where available and honest access and cost info. Find courts near you and get some reps in at the net.