Why "20 by 44" isn't enough to actually build one
If you've read our pickleball rules guide, you already know the basics: a regulation court is 20 feet wide by 44 feet long, with a 7-foot non-volley zone on each side of the net and a net that sits 36 inches high at the posts and 34 inches at the center. That's everything you need to play pickleball — but it's nowhere near enough to build a court.
The gap between "here's the rulebook rectangle" and "here's a surface my family can actually play on for a decade" is filled with questions the rulebook doesn't answer: how much space do you need around that rectangle so nobody runs into a fence chasing a lob? Should you paint lines on your existing driveway or pour dedicated concrete? Is a portable net good enough, or do you need something permanent? This guide is the deeper, construction-focused follow-up — official dimensions in the detail you need for layout, then the real tradeoffs in surfaces, nets, and line-marking, framed around realistic cost tiers rather than a single number that will be wrong by the time you read it.
Official dimensions, in construction detail
The playing surface itself is fixed by the USA Pickleball rulebook and doesn't change based on singles, doubles, indoor, or outdoor play — unlike tennis, there's only one court size.
- Total playing area: 20 ft × 44 ft (6.10 m × 13.41 m), measured to the outside edge of the boundary lines. Lines are part of the court — a ball landing on any line is in.
- Non-volley zone ("the kitchen"): 7 ft deep on each side of the net, spanning the full 20-ft width, for a combined 14 ft of kitchen depth straddling the net.
- Service courts: two 10 ft × 15 ft boxes per side, split by a center service line, running from the kitchen line back to the baseline.
- Net height: 36 inches at the two side posts, 34 inches at the center. The posts sit outside the sidelines, typically 22 inches beyond each edge of the court, so the net assembly's footprint is wider than the 20-ft playing surface.
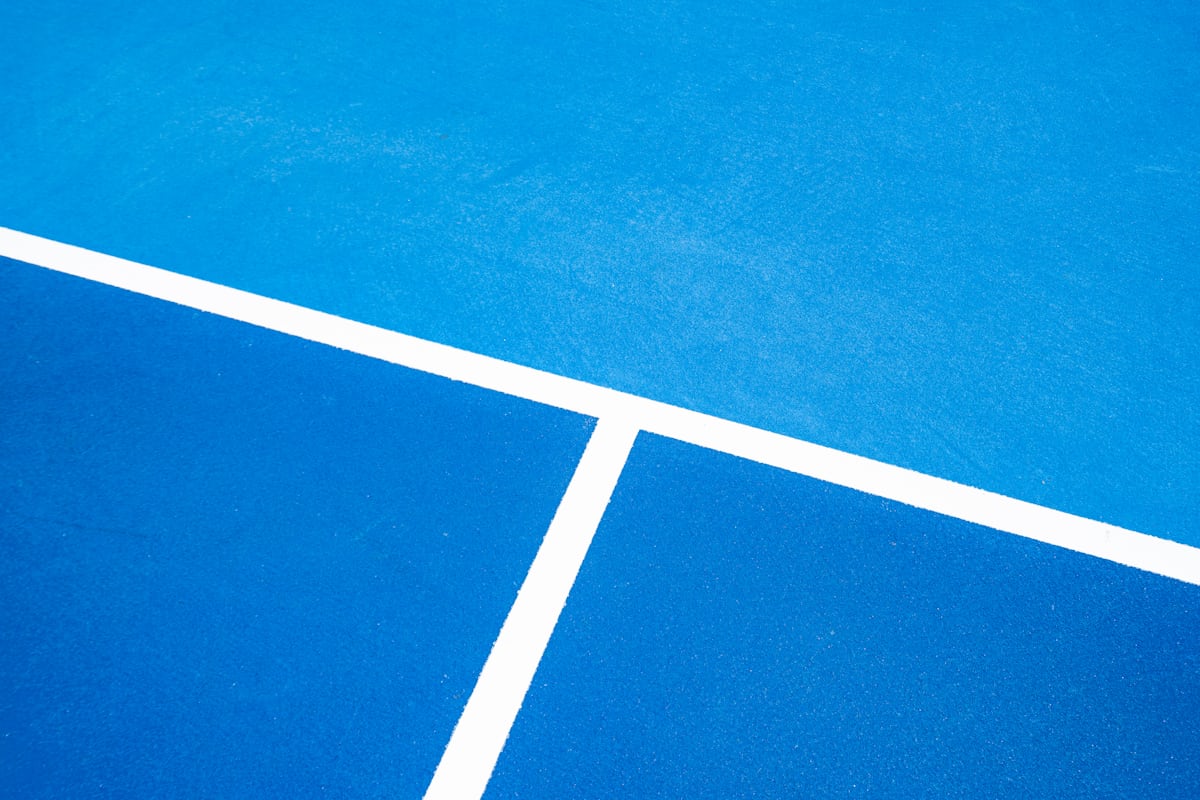
- Line width: 2 inches, painted or taped in a color that contrasts clearly with the surface — USA Pickleball recommends white or yellow on darker surfaces, and a different, contrasting color for the kitchen line specifically so players can spot it at a glance mid-rally.
None of that is new if you read the rules guide. What matters for construction is the space around that rectangle, because a court built with zero run-off is unsafe and unpleasant to play on — you will, regularly, chase a lob or an overcooked drive several feet past the baseline, and a fence, wall, or landscaping bed right at the line turns that into an ankle injury waiting to happen. USA Pickleball publishes three tiers of recommended total footprint for exactly this reason:
- Minimum playable footprint: 30 ft × 60 ft. This gives 5 ft of clearance on each sideline and 8 ft behind each baseline — workable for casual family play in a tight backyard, but noticeably cramped once anyone starts hitting with pace.
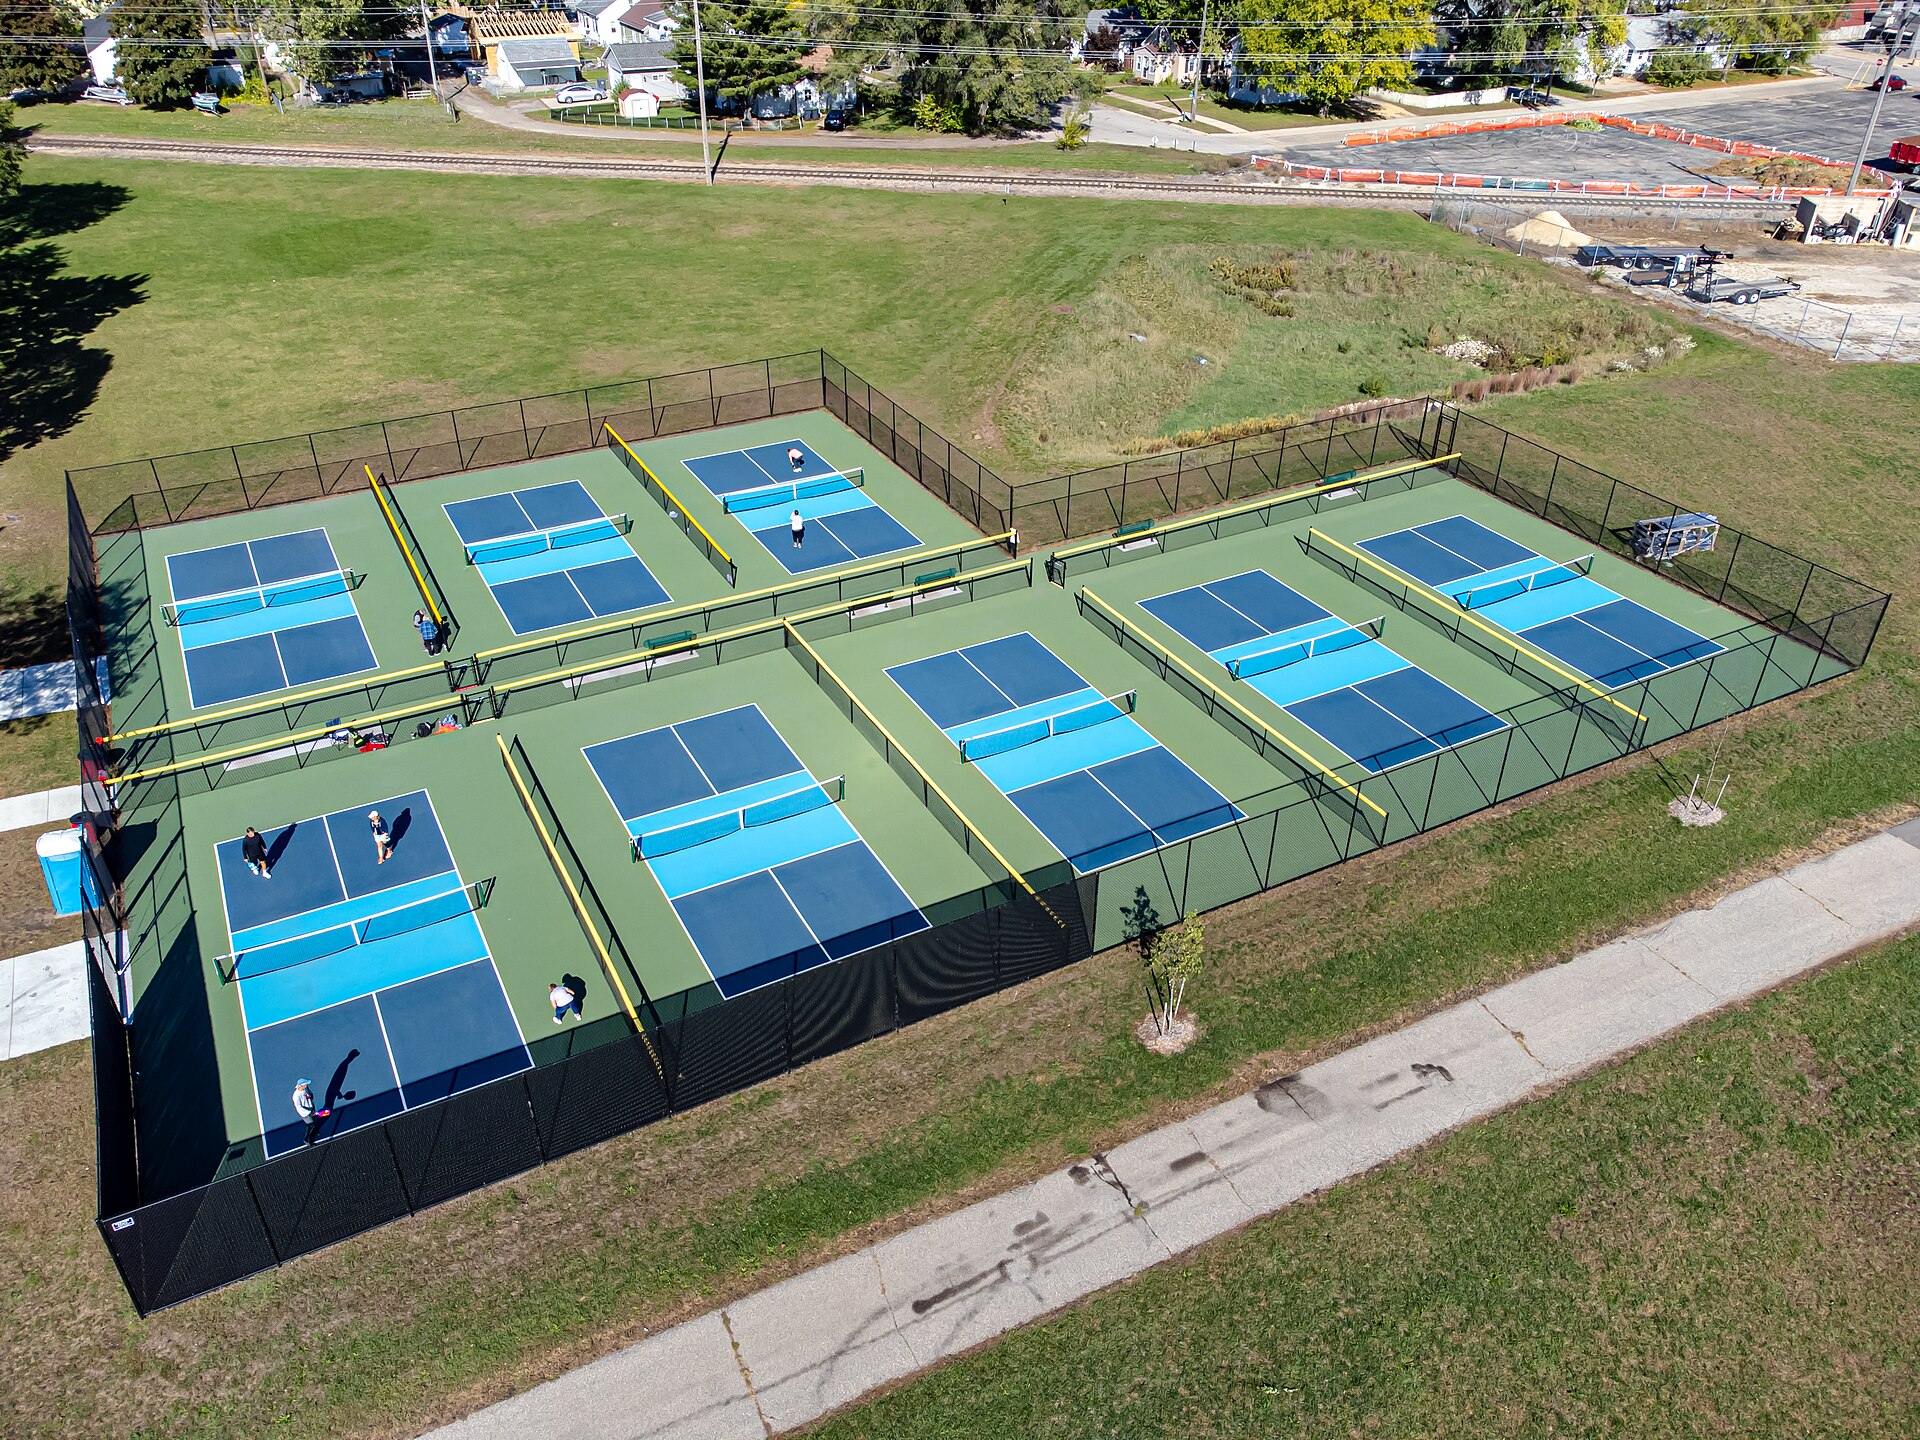
- Recommended new-construction footprint: 34 ft × 64 ft. This is the spec USA Pickleball actually recommends when someone is pouring a dedicated court from scratch — 7 ft on each side, 10 ft behind each baseline. If you have the land for it, build to this number, not the minimum.
- Premium/tournament-adjacent footprint: 40 ft × 64 ft. A 10-ft surrounding margin on all sides, used for facilities that expect competitive-level play or want real spectator/coaching space along the sidelines.
Two more things worth planning around before you touch a shovel: overhead clearance (at least 20 ft of clear vertical space above the entire court for lobs, with no overhanging branches, power lines, or low roof eaves), and orientation (a north-south long axis where possible, so the sun is less likely to sit directly in a player's eyes during typical morning/evening play windows).
Surface option 1: restriping an existing driveway or patio
The cheapest and fastest path to a home court is repurposing concrete or asphalt you already have. This works well if you already have a flat, crack-free slab in roughly the right footprint — a large driveway, an unused basketball half-court, or a patio.
What to check before committing:
- Minimum usable dimensions. You need at least the 20×44 playing rectangle, and ideally closer to the 30×60 minimum footprint, without a drain grate or expansion joint running through the middle of a kitchen zone.
- Slope. USA Pickleball's construction guidance calls for a maximum slope of about 1% across the court for water drainage — most driveways are graded steeper than that for runoff, which can make ball roll and bounce noticeably uneven on one side.
- Surface condition. Cracks wider than about 1/8 inch should be filled and sealed before painting; unsealed cracks widen every freeze-thaw cycle and telegraph through fresh paint or a new overlay.
How lines get added. Acrylic court-marking paint (the same category used on tennis and basketball courts) is the standard choice for a permanent-feeling restripe — more UV- and abrasion-resistant than ordinary exterior paint, and most brands sell pickleball-specific striping kits with a layout template. A single coat over clean concrete or asphalt is usually enough for a driveway court; fresh asphalt benefits from an acrylic resurfacer coat first for better paint adhesion and a more consistent bounce.
This is the right tier if your goal is "playable, right now, on what I've already got" — and realistically, it's the option most families choose, because a driveway or existing patio slab is already paid for.
Surface option 2: a dedicated concrete or asphalt pour
If you don't have an existing slab in the right footprint, or you want a court built specifically for pickleball's slope and drainage requirements rather than a repurposed driveway, a dedicated pour is the more serious — and more expensive — route.
- Asphalt base with an acrylic surfacing system is the most common approach for purpose-built home and club courts. A properly compacted asphalt base is topped with multiple acrylic coats — a resurfacer layer to fill minor texture, color coats, and often a cushioned "player" top coat that reduces joint impact for frequent players. This is the same system used on most dedicated commercial and club pickleball courts.
- Post-tensioned concrete is the more expensive but lowest-maintenance base — it resists cracking far better than plain concrete over years of freeze-thaw cycles, which matters most in climates with real winters. It can also be acrylic-coated on top for the same color/texture/cushioning benefits as an asphalt base.
- Professional installation is strongly recommended for this tier. Getting the sub-base compaction and the ~1% drainage slope right is what determines whether the court lasts 15 years without heaving or ponding — not a weekend DIY pour for most homeowners, even ones comfortable with general concrete work.
Choose this tier if pickleball is a long-term, multi-player-household commitment rather than a "let's see if we like it" project, and your existing hardscape genuinely can't be adapted.
Surface option 3: portable and modular tile systems
A third path skips permanent construction almost entirely: interlocking modular sport tiles (similar to the perforated plastic tile systems used for basketball and other backyard multi-sport courts) that snap together over an existing flat surface — a slab, a compacted gravel pad, or even a lawn with proper leveling.
Why people choose this tier: tiles are reversible — lift, relocate, store, or resell them if you move or change your mind, nothing is permanent. Most systems are perforated and slightly elevated, so water drains through rather than pooling, and the tiles cushion underfoot more than bare concrete, which some players' knees notice on long sessions. Many pickleball-specific tile lines also come pre-colored to mark boundaries and the kitchen zone as part of the pattern itself, skipping the paint/tape step entirely.
The tradeoffs: tile systems generally cost more per square foot than paint-on-existing-concrete, ball bounce and foot traction can feel slightly different from a true acrylic-coated slab (worth checking reviews or a demo panel first), and the sub-surface still needs to be reasonably flat and well-drained or the tiles will telegraph any dips underneath.
Portable vs. permanent net systems
The net matters as much as the surface, and it's the one component that's genuinely optional to get expensive about.
Portable nets — a wheeled, foldable net-and-post assembly that sets up and breaks down in a few minutes — are the right default for almost every home court, including permanent-surface ones. They're regulation height when tensioned correctly, they store easily, and they let a driveway or patio still double as a driveway or patio when you're not playing. Our portable pickleball nets guide covers the real differences between budget and premium models — mainly base weight and wind stability, tension-hardware quality, and how much the center sags after repeated use.
Permanent, sleeve-mounted net systems — posts set into in-ground sleeves, net removed or left up seasonally — make sense mainly for a dedicated, single-purpose court a household plays on often enough to justify never breaking the net down. The benefit is consistent, drift-free tension without a re-tightening ritual every session; the tradeoff is that the posts occupy that footprint permanently, and correct in-ground sleeve installation (positioned to the 22-inch beyond-sideline spec) is best done alongside a dedicated pour rather than retrofitted later.
Portable is close to a non-decision for any court that still needs to serve double duty. Permanent posts are a reasonable upgrade once a dedicated, pickleball-only surface is finished.
Line-marking methods
However you build the surface, the lines are what actually make it a court, and there are three real approaches:
- Acrylic court paint is the most durable option and the standard for both dedicated pours and driveway restripes. UV-resistant, holds up to foot traffic and weather for multiple seasons, and comes in pickleball-specific striping kits with a printed layout template so you're not measuring diagonals by hand. A multi-hour project the first time (measuring, taping off, painting, curing) but essentially permanent once done.
- Court-marking tape is the fast, no-mess option — heavy-duty adhesive tape, sized to the 2-inch line width, applied directly to a clean, dry surface. The right choice for a temporary or seasonal setup (a driveway you also need for cars most of the week, a rented property, a court you're trying out before committing to paint), and it peels off cleanly when done. The tradeoff is durability: tape wears faster underfoot at high-traffic spots like the kitchen line and needs periodic replacement, especially in direct sun.
- Chalk or temporary field-marking paint is the lowest-commitment option — genuinely temporary, meant to wash or wear off within days to weeks. Mainly useful for a one-off event or testing whether a footprint feels right before you paint or tile anything permanently.
Whichever method you choose, measure and mark the full layout — sidelines, baselines, the center service line, and both kitchen lines — before applying anything permanent, and use a printed or app-based layout template rather than hand-measuring diagonals; a court that's off by even a few inches on the kitchen line changes the game in ways players notice immediately.
Realistic cost tiers
Actual pricing varies enormously by region, site prep needs, and local contractor rates, so treat any single dollar figure you see online skeptically — the honest way to think about this is in tiers, roughly in order of investment:
- Lowest tier — tape or paint on an existing slab, plus a portable net. By far the most common way people actually get a home court.
- Low-mid tier — a portable modular tile system over an existing flat surface, plus a portable net. Costs more per square foot than paint but requires no permanent construction and can be relocated or resold.
- Mid-high tier — a dedicated asphalt or concrete pour with an acrylic surfacing system. A genuine construction project — site prep, base material, professional grading for drainage, multiple coats of surfacing — with pricing that scales with square footage and site difficulty (slope correction, tree removal, equipment access). Most homeowner cost guides put a fully built dedicated court in the tens of thousands of dollars for the full footprint, with concrete pricier than asphalt per square foot but longer-lived.
- Top tier — post-tensioned concrete with premium cushioned acrylic coating, permanent net sleeves, and extras like fencing, court lighting, and windscreens. This is the tier used by serious multi-court home facilities and small clubs.
Get at least two local quotes for tiers 3 or 4 — site conditions (grade, soil type, equipment access, local labor rates) swing the price more than asphalt-versus-concrete does, and a contractor who's built pickleball courts before (not just generic driveways) will get the drainage slope and paint prep right the first time.
Putting it together
Start with the space you actually have: measure it against the 30×60 minimum before you fall in love with a bigger plan, check the overhead clearance, and think honestly about whether the surface needs to double as a driveway most days. From there, the surface and net decisions mostly answer themselves — restripe-and-portable-net for most households, dedicated pour and permanent posts for a household that knows pickleball is a long-term fixture, tile as the flexible middle path. Whatever you build, our portable pickleball nets guide will help you pick a net that matches the tier you land on, and our pickleball rules guide is the reference to hand anyone playing on your new court for the first time.
If you're on an HOA board, running a club, or managing a parks facility and weighing conversion of an existing tennis court instead of new construction, see our companion piece on how to convert a tennis court to pickleball courts — it covers how many courts fit on a standard tennis court, temporary vs. permanent striping, and the community conflicts these projects tend to raise.
Sources
- USA Pickleball — Pickleball Court Construction, Lighting and Shading
- USA Pickleball — Official Rulebook (current edition, PDF)
- USA Pickleball — Equipment Standards Overview (court and net dimensions)
- HomeGuide — How Much Does It Cost to Build a Pickleball Court?
- Angi — How Much Does It Cost to Build a Pickleball Court?
- VersaCourt — Backyard Pickleball Court Cost Guide
Once your court is built, it's time to find more places to play. The Court Scout maintains a verified directory of pickleball courts across the US — every venue confirmed against a primary source, with real Google ratings, real hours, and honest cost info. Find courts near you for when you want a game beyond the driveway.